Understanding Island Cooker Hoods
What is an Island Cooker Hood?
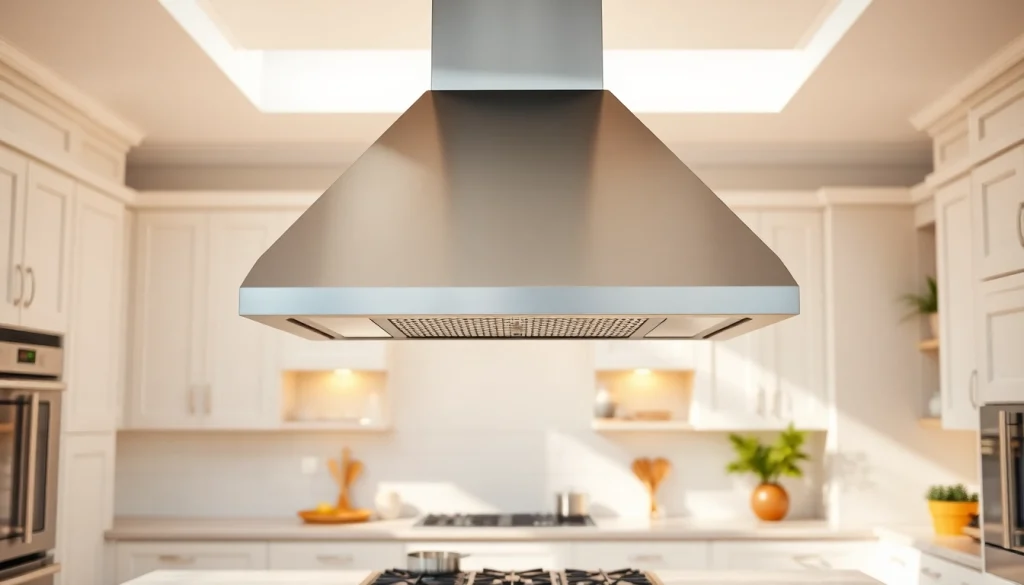
An island cooker hood, commonly referred to as an island range hood, is an essential ventilation device typically installed above a kitchen island that is equipped with a cooktop. Unlike traditional range hoods which are often wall-mounted, island cookers are suspended from the ceiling, providing ventilation while simultaneously being a central piece of kitchen design. They serve the crucial function of removing smoke, steam, and odors generated during cooking, ensuring your kitchen remains clean and fresh.
Benefits of Installing an Island Cooker Hood
Installing an island cooker hood comes with numerous advantages:
- Improved Air Quality: By effectively removing airborne grease, smoke, and odors, these hoods contribute to a healthier cooking environment.
- Enhanced Aesthetics: Island hoods often serve as the focal point of the kitchen, available in various styles and finishes that can complement any decor.
- Space-Saving Design: Ideal for open-concept kitchens, they make use of overhead space while keeping countertops clear.
- Variety of Features: Many models come equipped with advanced settings, such as variable speeds, lighting options, and compatibility with smart home systems.
Popular Styles and Designs
Island cooker hoods are available in a multitude of styles, ranging from contemporary stainless steel designs to more traditional, rustic finishes. Common design options include:
- Chimney Styles: These hoods feature a tall, chimney-like appearance, often resembling classic range hoods.
- Canopy Hoods: Designed to be flush with the ceiling, these offer a sleek look with integrated lighting.
- Downdraft Hoods: More modern in design, they retract into the countertop when not in use.
- Glass Island Hoods: Combining elegance with functionality, these hoods feature glass elements that provide a contemporary touch.
Choosing the Right Island Cooker Hood for Your Kitchen
Size and Configuration Considerations
When selecting the right island cooker hood, size is one of the most critical factors. The hood should be at least as wide as the cooking surface to effectively capture smoke and grease. Here are some considerations to keep in mind:
- Ceiling Height: Standard installations place the hood 24 to 30 inches above the cooktop, but higher ceilings may require adjustments.
- Hood Width: Ideally, the hood should extend a minimum of 3 inches on either side of the cooktop.
Power and Performance Features
Performance metrics for island cooker hoods are often measured in cubic feet per minute (CFM), indicating the volume of air the hood can filter or exhaust. Here are key performance features to assess:
- CFM Rating: For most home kitchens, a range of 300 to 600 CFM is sufficient, though professional-grade kitchens may require higher ratings.
- Sound Levels: Quiet operation is essential; look for hoods designed to minimize noise with sound insulation technology.
- Venting Options: Consider whether you prefer ducted (exhausts air outside) or ductless (filters and recirculates air) configurations.
Design Styles to Complement Your Kitchen
It’s essential to select a hood that complements your kitchen aesthetic. Determine if you favor a modern, minimalist approach or a more traditional, ornate style. Popular options include:
- Stainless Steel: A timeless option that blends with most color schemes.
- Custom Wood Finishes: Perfect for rustic or farmhouse kitchens.
- Colored or Textured Hoods: Adds a unique touch and serves as a statement piece.
Installation Process of Island Cooker Hoods
Key Steps in the Installation Process
The installation of an island cooker hood typically involves several critical steps:
- Preparation: Gather necessary tools and materials, including a stud finder, power drill, and level.
- Location Assessment: Ensure the chosen area is centrally located over the cooktop with adequate clearance.
- Venting Setup: Decide between ducting to the exterior or installing a ductless model; follow local building codes.
- Mounting: Securely attach the mounting bracket to the ceiling, ensuring it is level.
- Electrical Hookup: Connect the power cable according to manufacturer guidelines.
- Finishing Touches: Once installed, check for proper operation and ensure that any filters are clean and ready for use.
Professional vs. DIY Installation
While DIY installation can be a cost-effective solution, hiring a professional is often recommended, especially for complex ducting systems. Experienced contractors can ensure safety and compliance with local regulations, particularly involving electrical connections. However, for skilled DIYers, clear instructions and adequate tools can make installation achievable.
Common Installation Mistakes to Avoid
When installing an island cooker hood, avoid these common pitfalls:
- Incorrect Height: Mounting the hood too low can lead to safety hazards while cooking, while mounting it too high diminishes effectiveness.
- Poor Ventilation: Ensure the ducting is appropriately sized and not obstructed for optimal airflow.
- Overlooking Electrical Codes: Recognize and follow local bylaws regarding electrical installations to avoid fines or hazards.
Maintaining Your Island Cooker Hood
Routine Cleaning Tips
Regular maintenance is vital for the longevity and efficiency of your island cooker hood. Here are essential cleaning tips:
- Frequency: Clean filters and surfaces every month or as needed, depending on the frequency of use.
- Use Suitable Products: Opt for mild detergents and avoid abrasive materials that can scratch surfaces.
- Check Fans: Ensure that the fan blades are free of grease and clean for optimal performance.
Replacing Filters and Fixtures
Depending on your model, filters can be either permanent (metal) or disposable (charcoal). Regularly check and replace them as follows:
- Metal Filters: Clean them in warm, soapy water or the dishwasher; these should generally be replaced every 3–5 years.
- Charcoal Filters: Replace these every 6 months or as per the manufacturer’s guidelines.
Signs Your Island Cooker Hood Needs Repairs
It’s essential to recognize the signs that indicate your island cooker hood may require repair:
- Reduced Airflow: If you notice the hood is not pulling air effectively, it may need servicing.
- Unusual Noises: Grinding or rattling sounds can indicate issues with the fan motor or loose components.
- Lighting Problems: Flickering or non-functioning bulbs may require replacement; ensure to use the correct type specified by the manufacturer.
Enhancing Your Kitchen with Island Cooker Hoods
Combining Functionality with Style
Island cooker hoods are not just functional; they are also a significant style statement. Consider these design principles:
- Color Coordination: Matching the hood with kitchen elements like cabinetry or countertops enhances overall aesthetics.
- Lighting Features: Incorporate hoods with integrated lighting to create a warm, inviting atmosphere.
- Open Space Designs: Utilize hoods to enhance the feeling of openness in large kitchens.
Saving Space and Improving Ventilation
In addition to their aesthetic appeal, island cooker hoods optimize ventilation in open-plan kitchens:
- Maximizing Ventilation: These hoods can handle larger kitchen spaces without compromising air quality.
- Creating an Efficient Workflow: They facilitate a seamless cooking experience by keeping unpleasant odors and steam at bay.
Innovative Features in Modern Models
Today’s island cooker hoods come equipped with advanced technology to enhance user experience:
- Smart Technology: Some hoods offer wifi capabilities, allowing for remote operation and monitoring.
- Touch Controls: Modern hoods often feature easy-to-use touch control panels that simplify settings adjustments.
- LED Lighting: Energy-efficient LED lights not only provide clarity while cooking but also add to the aesthetic.